Do this while the engine is fully warmed up, it will make it easier to remove the glow plugs if you need to change one. It is advisable to wear gloves as obviously the engine is hot
Tools Required:
10mm Deep Thin Socket
Socket Extension Bar
WD40
Multimeter
Time required:
10 minutes to check all 4 glow plugs
5 - 10 minutes to change 1 glow plug
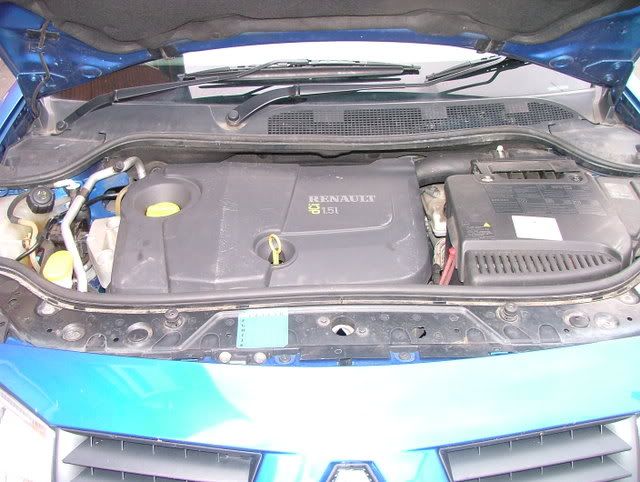
Lift The bonnet
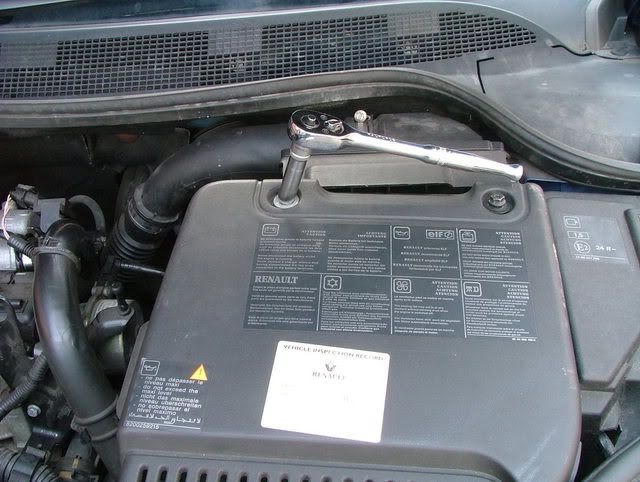
Undo the two 10mm bolts at the top of battery cover. The bolts need to be fully removed but be careful as the clip on nuts underneath can fall off into the engine bay. The battery cover flicks over to the left.
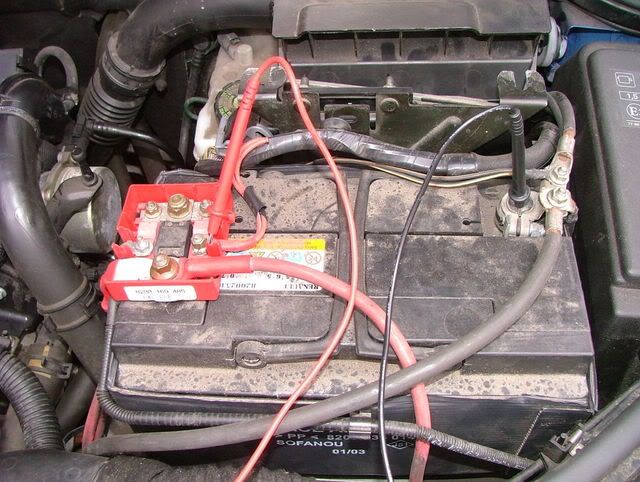
Turn your Multimeter to 20 Volts and place the probes on the corresponding battery terminals. I.e. red probe to red terminal, black probe to black terminal.
You are doing this to check the voltage of your battery.
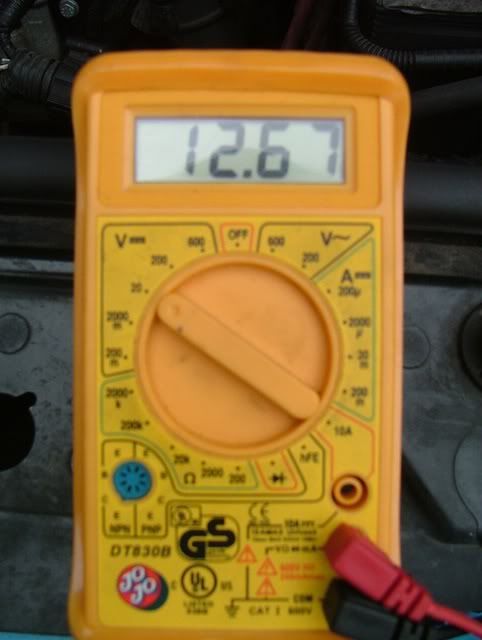
My battery is currently showing 12.67 Volts. Write down the voltage your battery is showing.
The engine cover is held down by 3 push clips underneath. To remove it you just hold onto it and lift.
The yellow circles below show the position of the glow plugs.
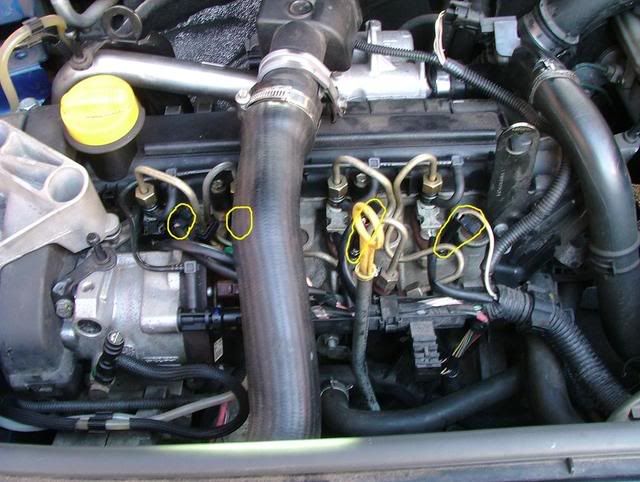
The glow plugs are covered with a black plastic connector with a wire going into them.
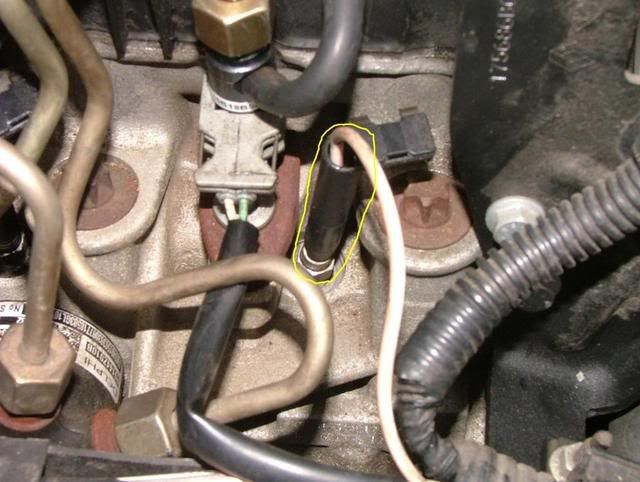
Holding the black plastic connector (do not hold the wire) gently pull the connector off the glow plug
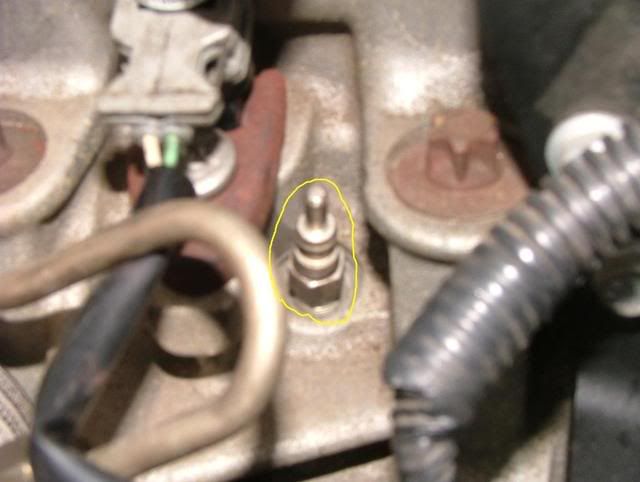
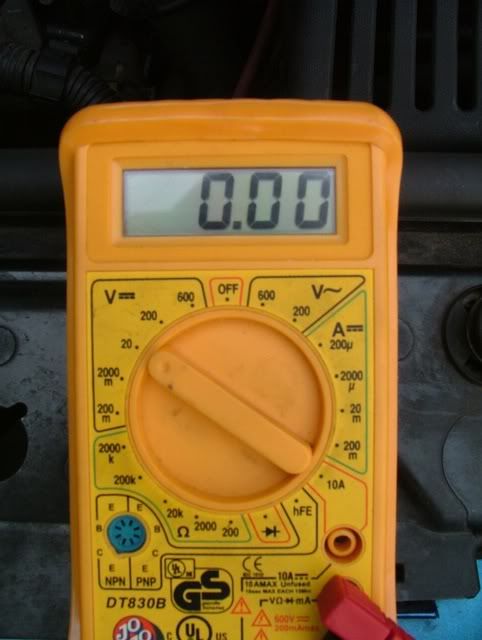
Now get the red probe from your multimeter and place on the red battery terminal. Hold the black probe on the top of the glow plug.
Check the voltage displayed on the multimeter. It should be exactly the same or very near to the voltage you wrote down earlier. If it is more than 2-3 volts lower then it could be on its way out and It would make sense to change it now while you already have everything dismantled.
Mine was showing 0.00 volts so was definatley dead.
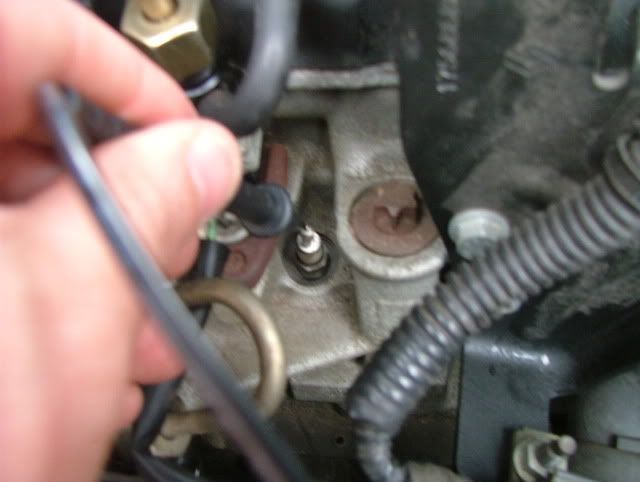
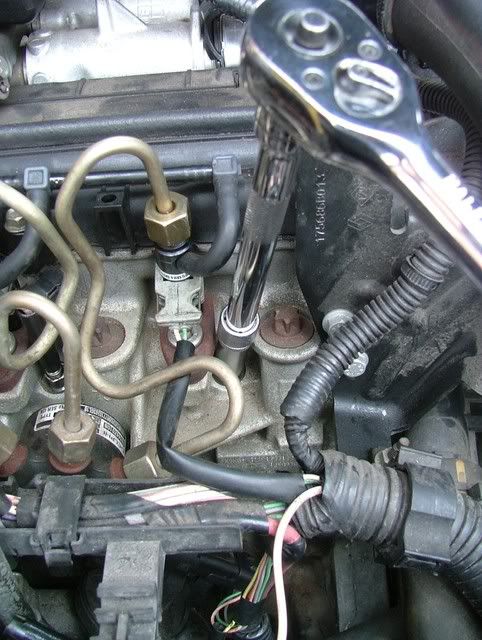
Get your 10mm deep thin socket and extension bar. Place it on the glow plug and turn anti clockwise.
warning: Do not try and force it to turn.
If it will not turn then give it a squirt of WD40 and leave it for 5 mins. Keep giving it little turns and a squirt until it is easier to turn. Eventually it will come out.
Below is the glow plug I removed
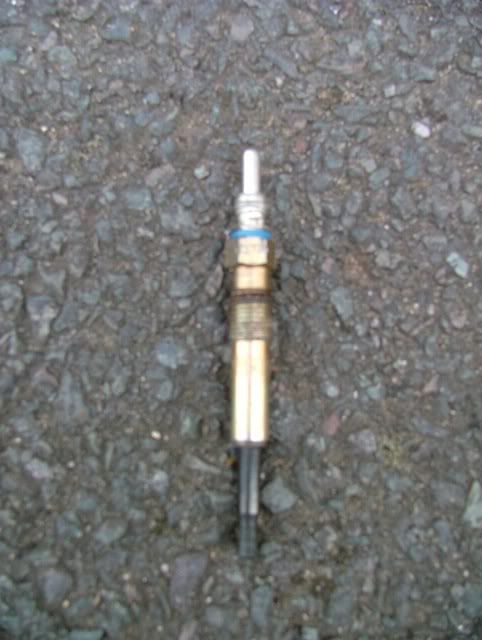
You can purchase glow plugs from any good motor factor. My replacement cost £11. You can buy them cheaper online but I couldnt be bothered to wait.
Insert the new glow plug into the hole. Carfully screw it in by hand. Do not cross thread it!!!! It is very costly to have rectified. Once it is finger tight, use the socket to nip it up. Do not over tighten it, again this can cause problems.
Check the voltage of the new glow plug in exactly the same way as you tested the old one. My new glow plug is showing the same voltage as my battery. Yours should too.
Reconnect the black plastic connector, you will feel it click
Double check that you have reconnected all of the connectors and have removed all your tools from the engine bay.
Start your car. If the "Check Injection" message is still showing then disconnect the battery and leave for 15 mins. This will reset your ECU Make sure you have your radio code first
In most cases it will not be necesary to disconnect the battery but sometimes the ECU will store the error code and display it everytime you start the car.
Replace the engine & battery covers.
Now all you have to do is pat yourself on the back and think about the money you have just saved.

Gaz